Getting started with CineMatch
Installation and activation
- Download and install the trial version of the plugin from www.cinematch.com/download
-
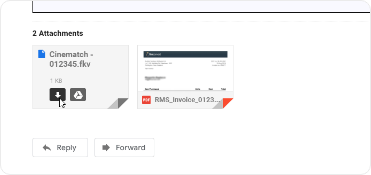
Download the license file we emailed you to your Desktop
- In Premiere Pro, create a new project and add some media to the timeline
-
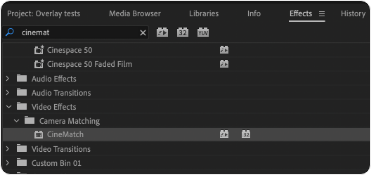
In the Effects menu, search for ‘CineMatch’ and drag the effect on to your clip
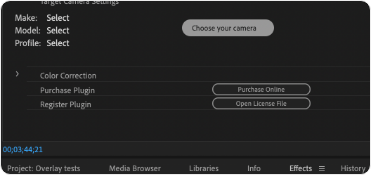
- With the clip selected, find the CineMatch settings in the Effect Controls panel
-
At the bottom of the CineMatch settings, click ‘Register Plugin > Open License File’
- On the popup window that appears, click ‘Load Registration File’
- Browse to your Desktop where you saved the license file. Select the license file and click ‘OK’
- Your plugin will be successfully activated!
Installation and activation
- Download and install the latest trial version of the CineMatch DaVinci Resolve plugin from www.cinematch.com/download
-
Download the license file we emailed to you to your Desktop

- Open DaVinci Resolve and start a new project.
- Add some media to the timeline and switch to the Color Tab.
-
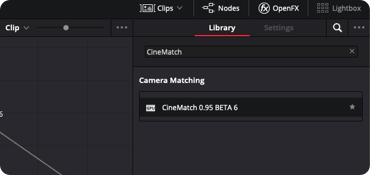
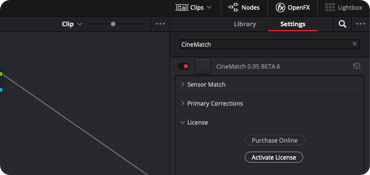
In the OpenFX panel, search for CineMatch, and drag the CineMatch plugin onto a node.
-
Under CineMatch controls, scroll to the License section at the bottom, and click Activate License.
- In the popup window that appears, click ‘Open FKV File’ and browse to your Desktop to select the .fkv file.
- Your plugin will be registered successfully!
After registration, you may need to re-render any footage previously rendered with the trial version to remove the watermark.
Installation and activation
- Download the CineMatch installer from www.cinematch.com/download to your computer, and then double-click on the file to start the installation process.
-
When installing CineMatch for the first time, you'll need to add permission for the plugin to record your screen. This permission is required for the color picker in the plugin to work.
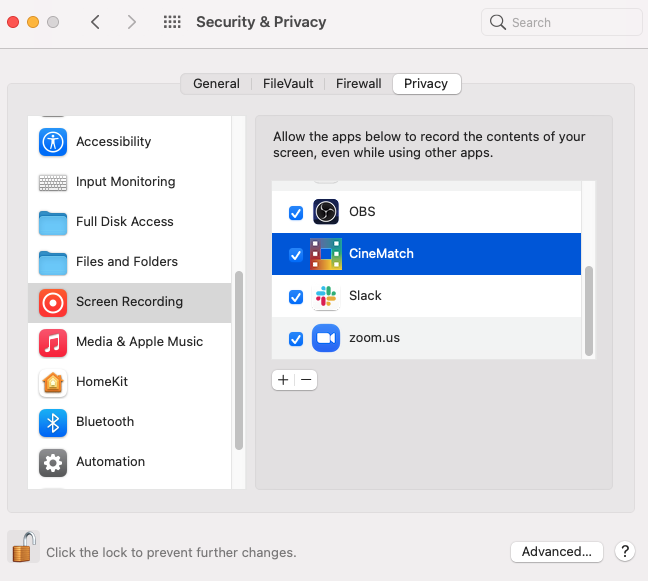
- Under System Preferences > Privacy > Screen Recording, check the box for 'CineMatch' - you may be prompted for your username and password
- After you've approved the permission request, the installation process will continue.
Activating the plugin
- Download the license file we emailed you to your Desktop
- Open Final Cut Pro and start a new project.
- Add some media to the timeline.
-
In the Effects panel, search for CineMatch, and drag CineMatch onto your clip in the timeline.
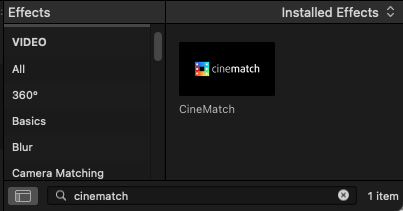
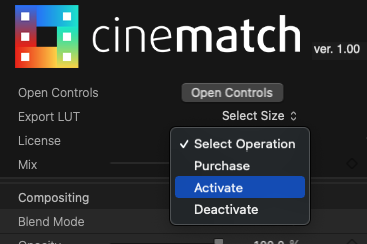
-
Under CineMatch controls, next to the License label, click Select Operation, and click Activate.
- In the popup window that appears, click ‘Open FKV File’ and browse to your Desktop to select the .fkv file. Select the license file and click ‘OK’
- Your plugin will be registered successfully!
- After registration, you may need to re-render any footage previously rendered with the trial version to remove the watermark.